Shopify is a well-known e-commerce platform that allows you to create a store, configure it, choose a design to your liking, and start selling without having to bother about coding, mockups, SEO, etc. Facebook, in its turn, is one of the biggest traffic sources out there, and the one that looks kindly on compliant e-commerce campaigns too. So, practice shows that combining these two platforms yields terrific results for the e-comm vertical. We are going to take you through the process step by step. Buckle up!
Setting up a Shopify store
Shopify is a Canadian e-commerce company that appeared in 2006, and it currently holds more than 1.7 million businesses in roughly 175 countries. This platform is easy to navigate, there are many useful tips and guides that make your sailing as smooth as possible.
Registration
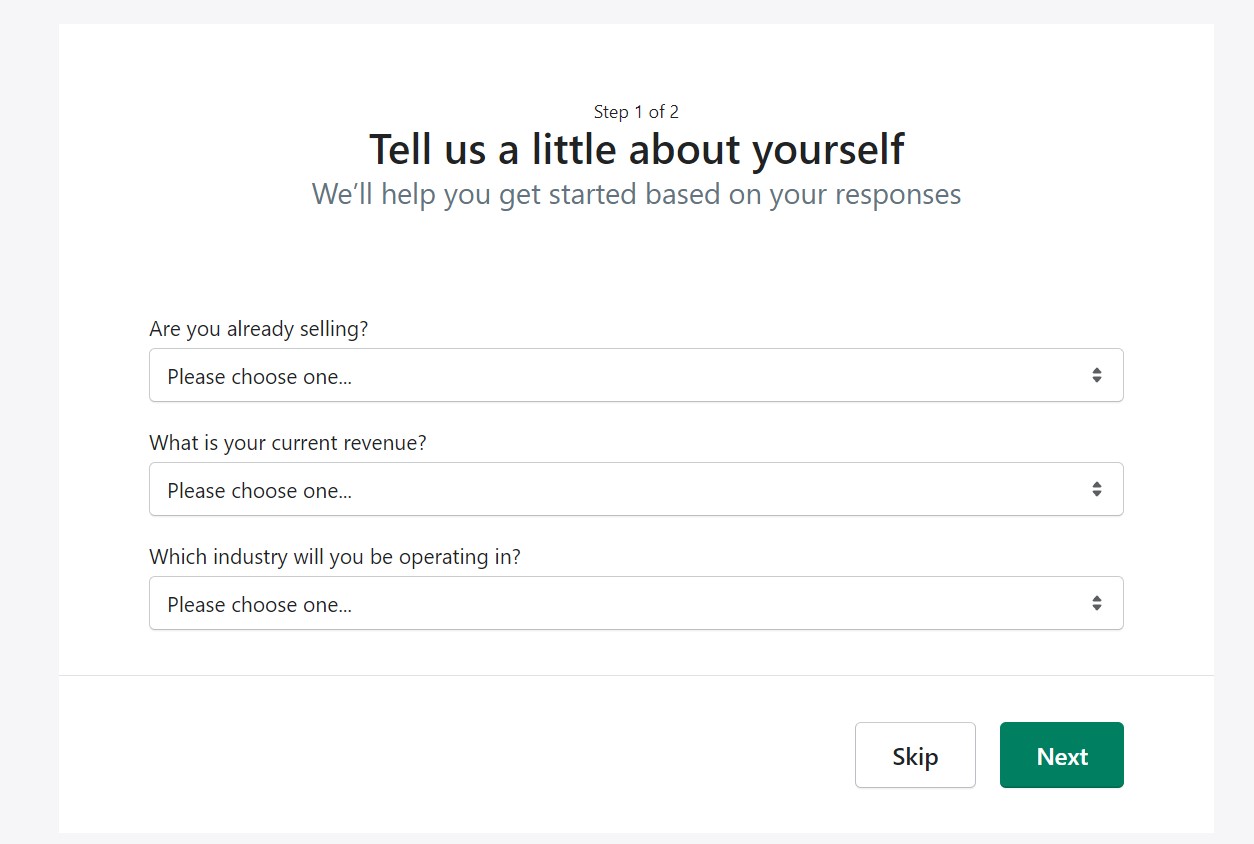
To get your store going, you need to register an account. It’s an easy 3-step process where you need to provide your contact details, and name your store. Then, to better optimize for your current needs, Shopify asks you about the stage of business you’re on. Later, you also need to indicate your billing address and payment info so that you can ship orders and receive payments. What’s good about this registration form, is that it doesn’t urge you to decide on the spot. There is even such an option “I’m just playing around”. So it’s really beginner-friendly.
Settings and inventory
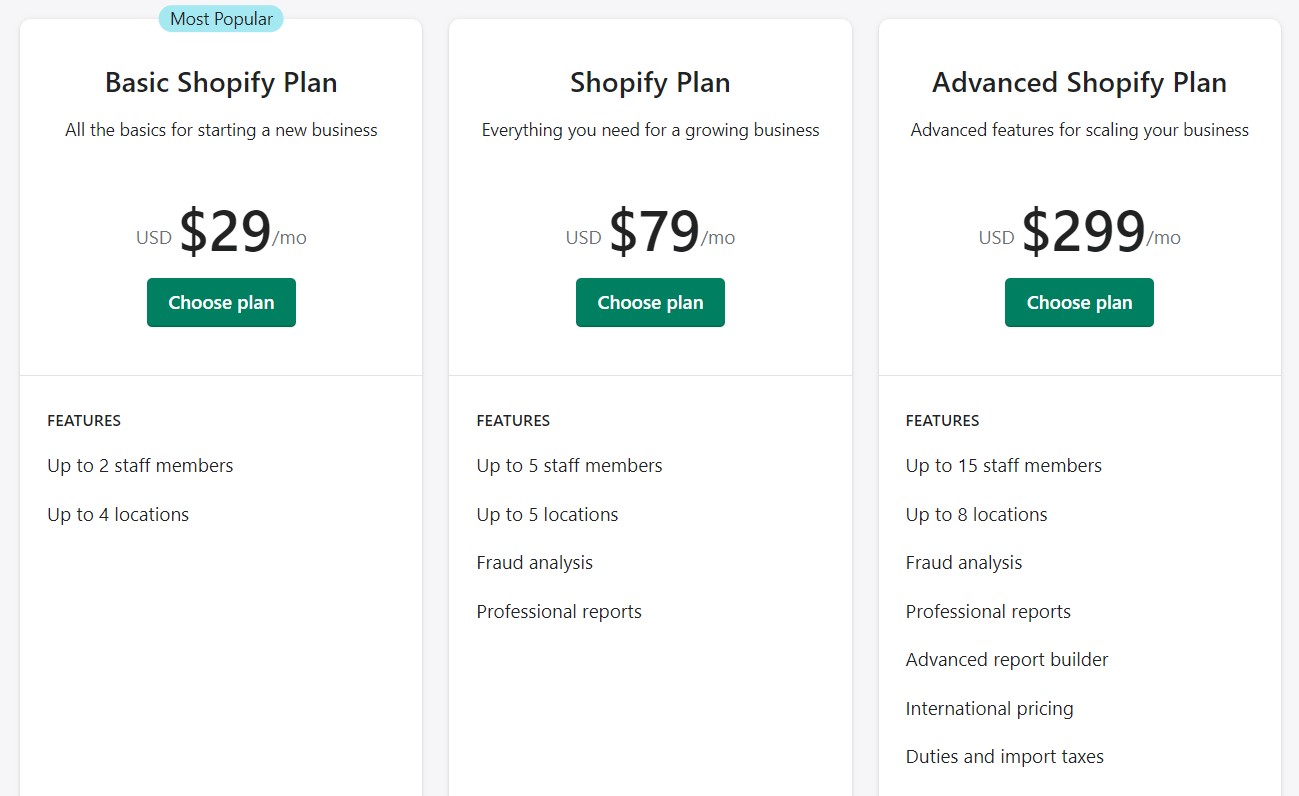
The first thing you need to do if you are ready to sell stuff — is to choose a tariff plan. Shopify has 3 plans with a choice of payment cycle (from 1 month to 3 years). There is also a 14-days trial, but you need to choose a plan and enter your billing info anyway.
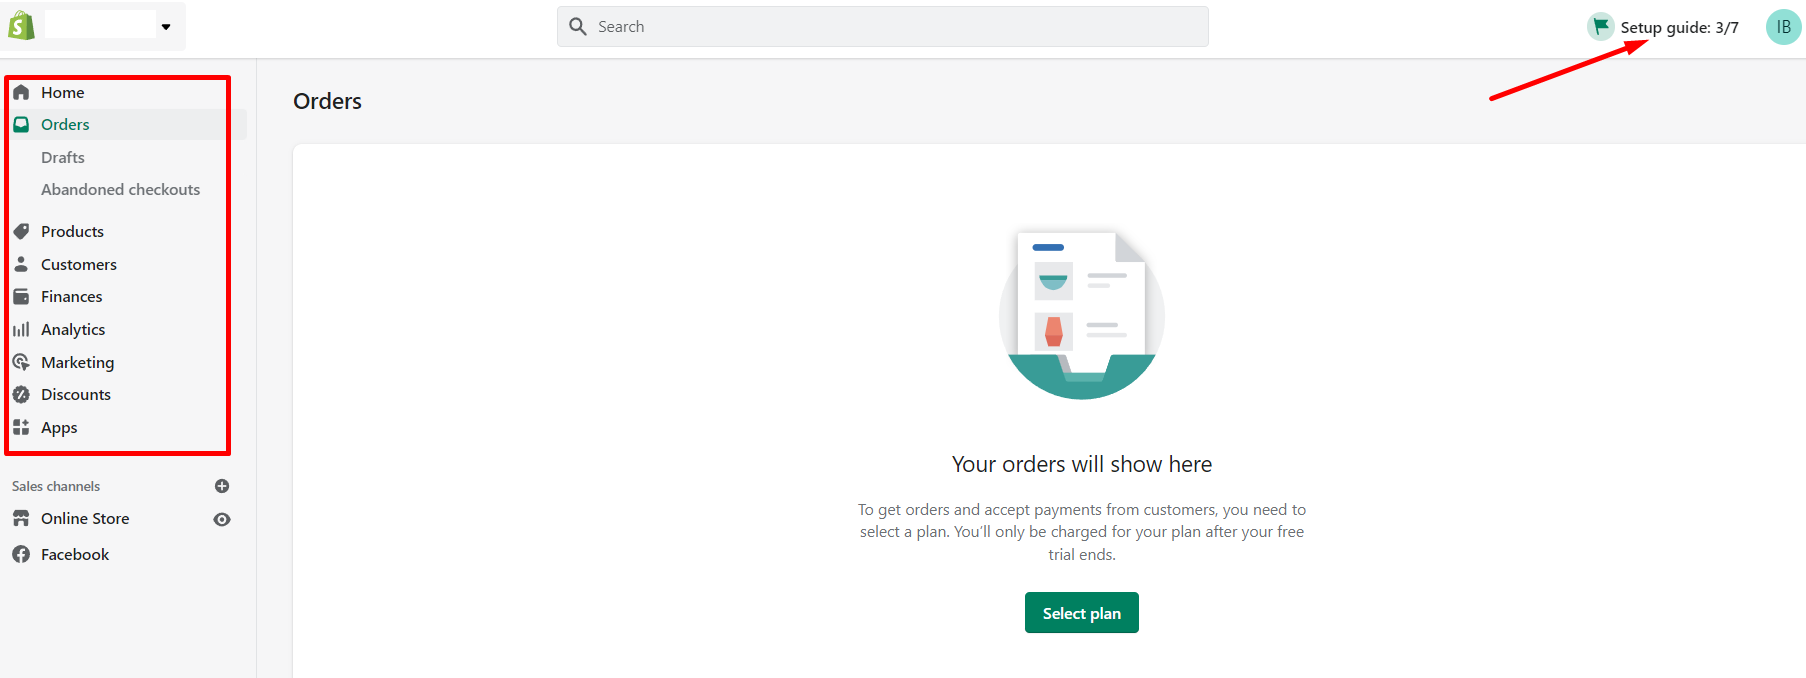
Once you have a store template, you can get down to filling it up with merchandise and such. A setup guide will help you navigate through the stages, but you can easily do everything yourself by clicking on the menus on the left.
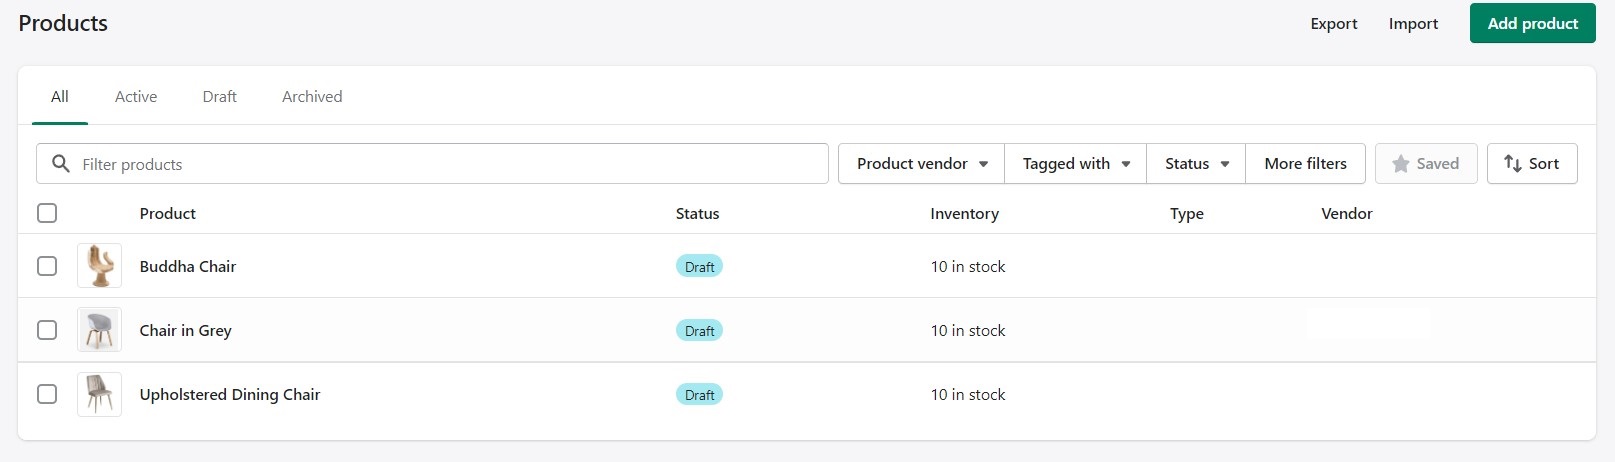
Products is the most exciting step because this is what the store is all about. We have decided to sell home decor items and started filling our little boutique with comfy chairs. While adding a product to your inventory, you can indicate all sorts of details about it: title, description, weight, size, pricing, shipment info, place of origin, bar codes, etc. This is what your shop looks like at this stage.
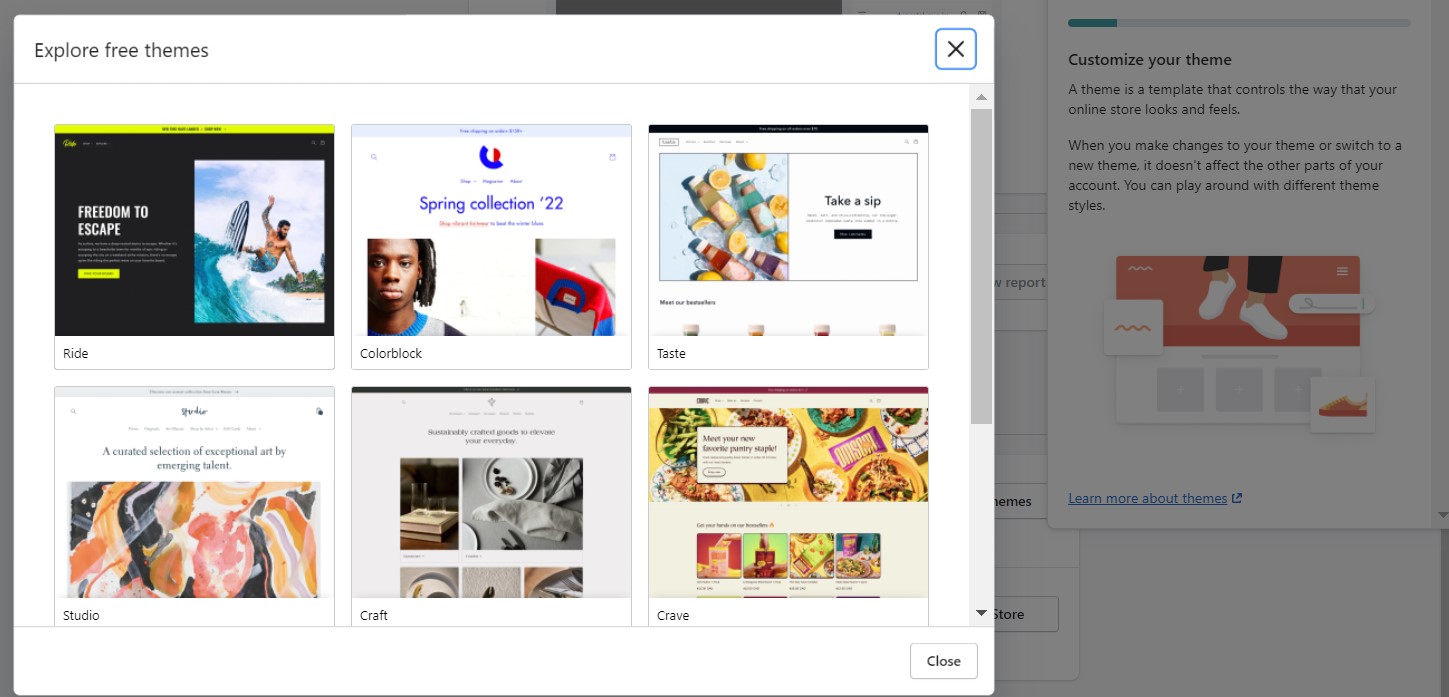
Another important point is to make your store look unique and appealing to the customers. For this, you can choose one of free themes, go to Shopify Theme Store, or upload a theme from a zip archive or from GitHub.
The setup guide will also take you through Finance, Domain, and Shipping steps that are quite generic, so we won’t go into details about them. Once your store is ready to go, you can run a test order to check that everything is operating like clockwork.
Launching a Facebook ad campaign
Registering in Business Manager
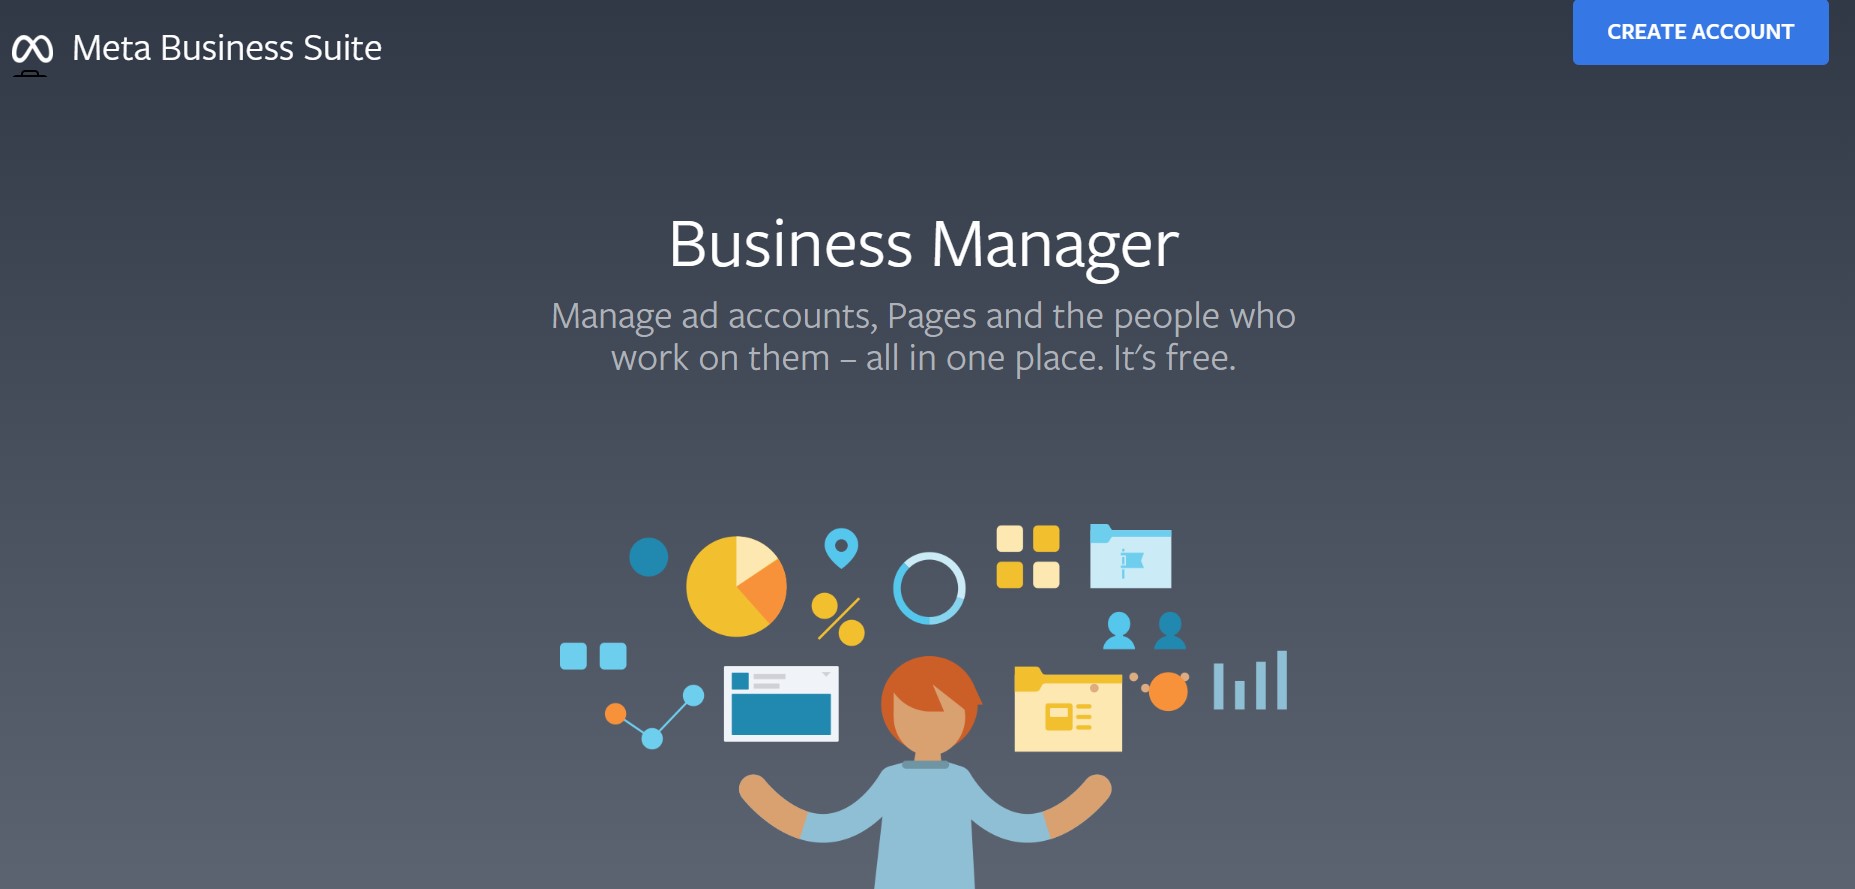
In order to run ad campaigns on Facebook, you need to register with the Meta Business Suite first. For this, you need your Facebook account, business name, and email address.
Then you will need to configure your account step by step following the setup guide. All the necessary tabs are located on your left, so it won’t be difficult.
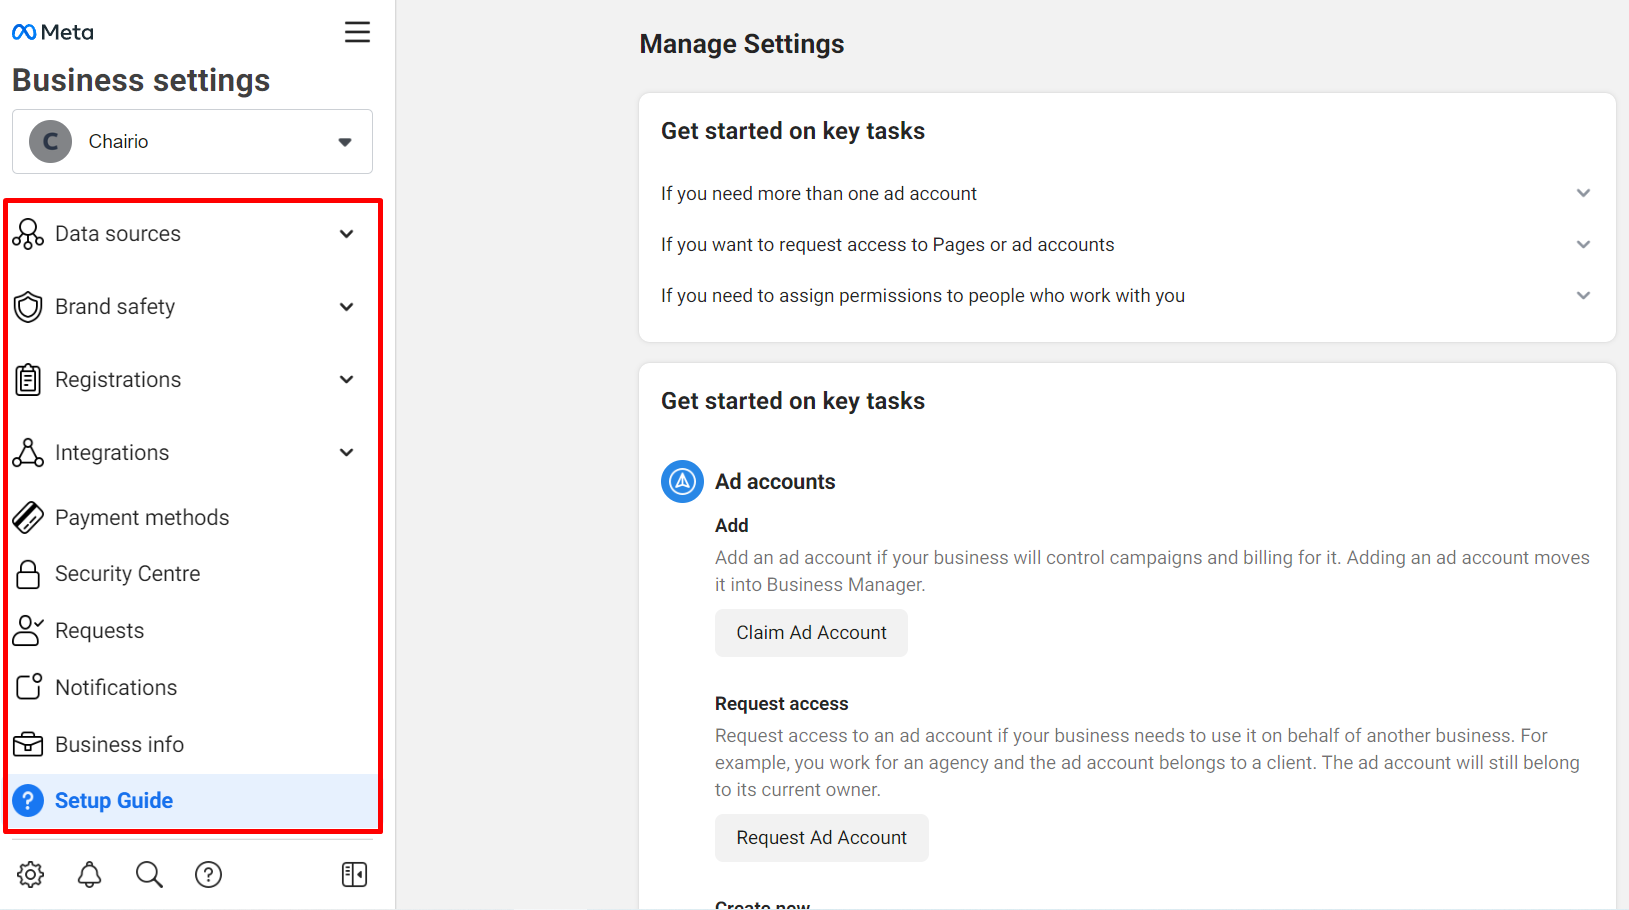
One of the most important steps is to get your Ad Account going. You will need to choose between adding an existing ad account, requesting access to an ad account, or creating a new ad account. If this is your first time with Facebook ads, click Create a New Ad Account and follow the guide. Once you’ve done that, you can get down to tracking.
Adding the Facebook tracking pixel to your Shopify store
In order to track conversions within your future ad campaigns, you need a tracking solution, and this is the Facebook pixel. This is necessary to assess the performance of your ads so that you can optimize them for better results.
The pixel connects your Business Manager and your online store, and it shows how the people who come to your website from Facebook behave in your store. The pixel shows which promotional materials (or creatives) drove most users to your website and what portion of those users has actually converted into paying customers. FB pixel has 17 standard events:
- Add payment info
- Add to cart
- Add to wishlist
- Complete registration
- Contact
- Customize product
- Donate
- Find location
- Initiate checkout
- Lead
- Purchase
- Schedule
- Search
- Start trial
- Submit application
- Subscribe
- View content
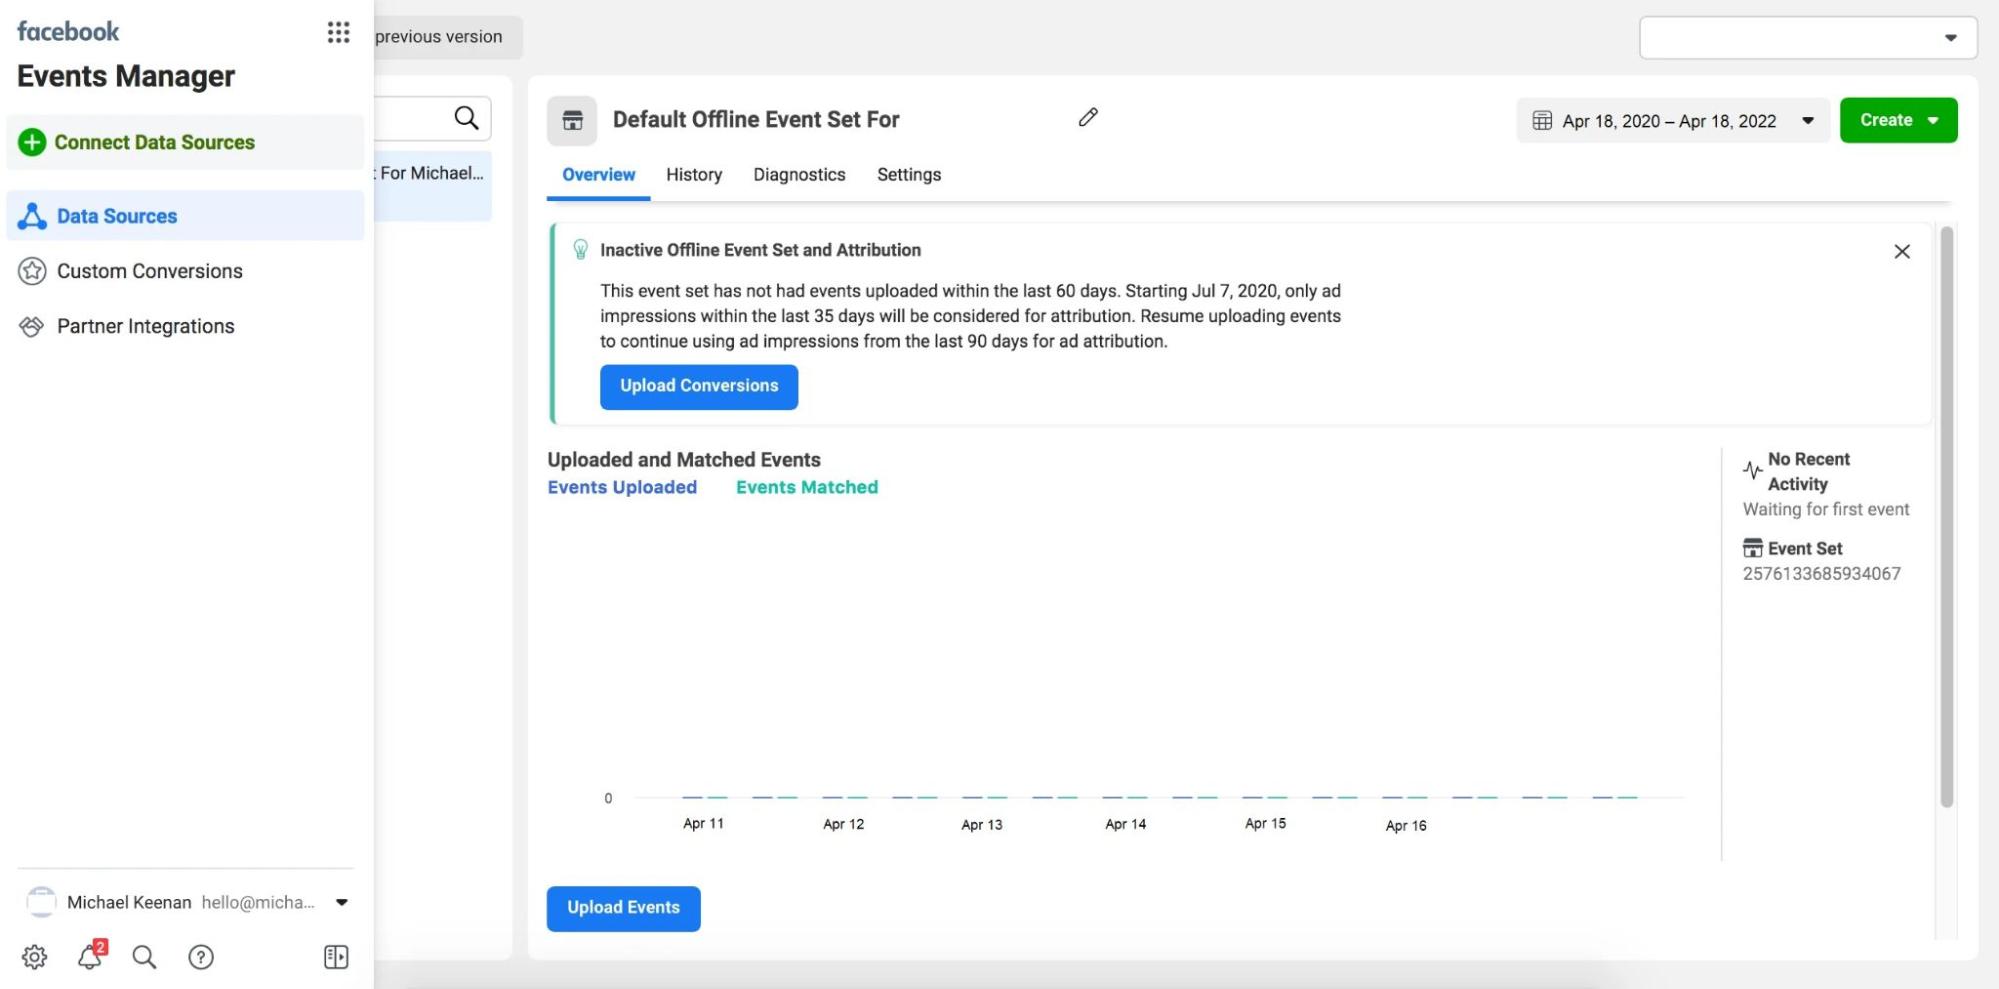
To install a tracking pixel, you need to go to your Events Manager (Ads Manager → Measure & Report → Events Manager), create a new Web pixel, and enter the URL of your online store.
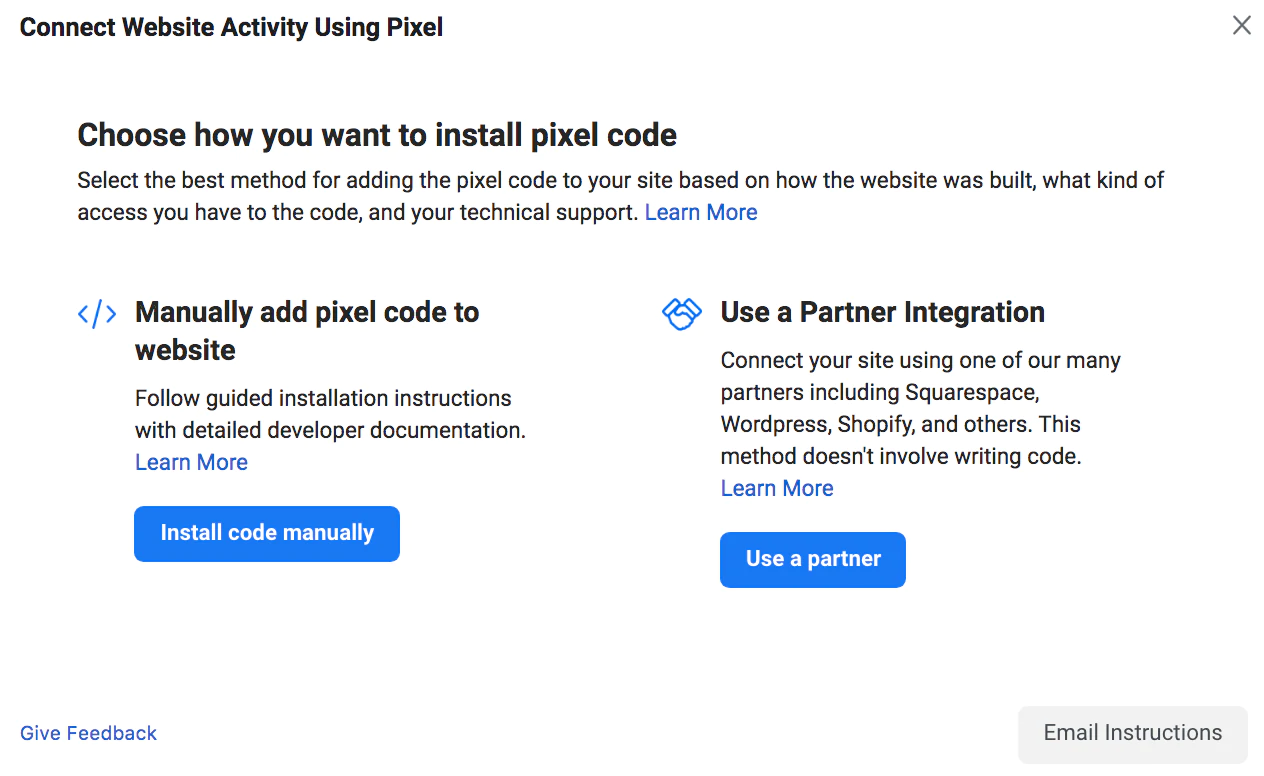

The next step is to add the pixel you have created to your website.
- Choose Facebook from the left-hand menu on your Shopify dashboard.
- Then you need to switch the data-sharing toggle in the Customer data-sharing section of the Settings.
- Choose data-sharing level Standard, Enhanced, or Maximum.
- Select your pixel from the list.
- Click Confirm.
Actually, Shopify has a great article in their blog about the Facebook pixel and a help guide on the pixel setup process, check them out for more detailed instructions.
Campaign launch
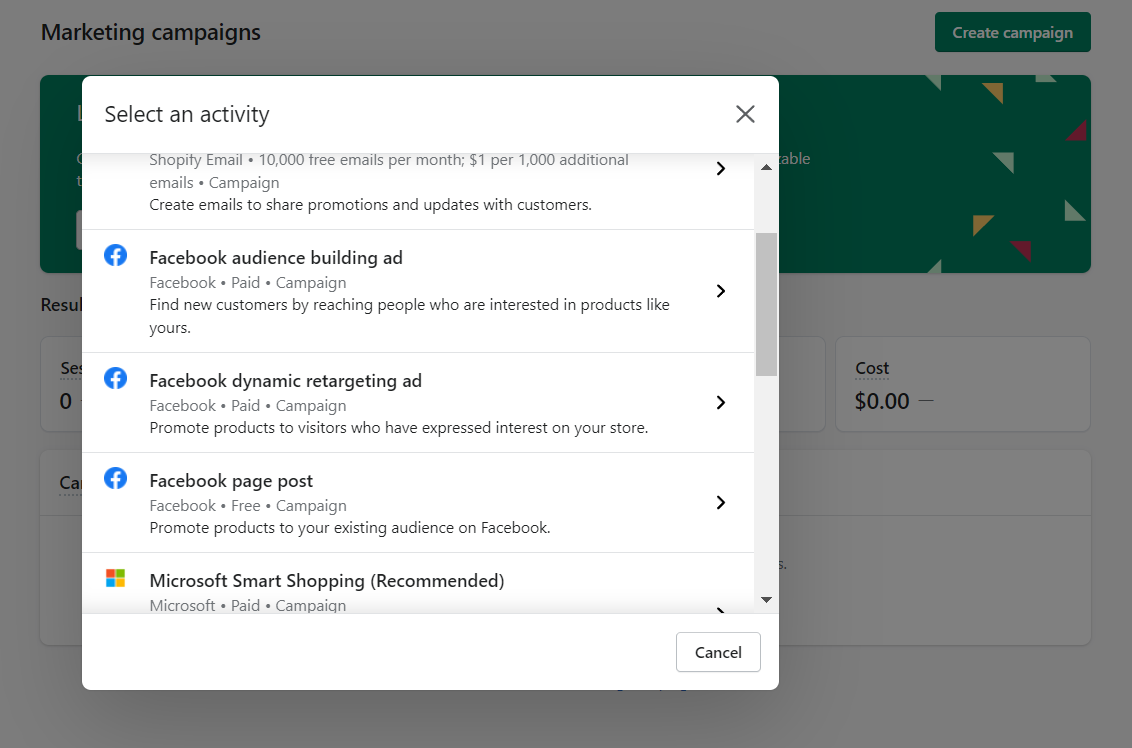
Facebook offers several ad formats: image, video, carousel (up to 10 images/videos in one ad), and collection (a full-screen image/video with clickable products below). For e-comm stores like ours, carousel and collections are a great shot, so we’ll go with them.
To finally get going, you need to create an ad campaign on Shopify. Choose Marketing → Campaigns from the left-hand menu. Then click Create campaign and select one of the Facebook options from the list.
You will need to indicate the name, duration, and terms of the campaign (for example, add a discount for new customers), add the products from your inventory, text, choose audience targeting options, etc. At this step, you will also need to indicate your campaign’s budget and duration.
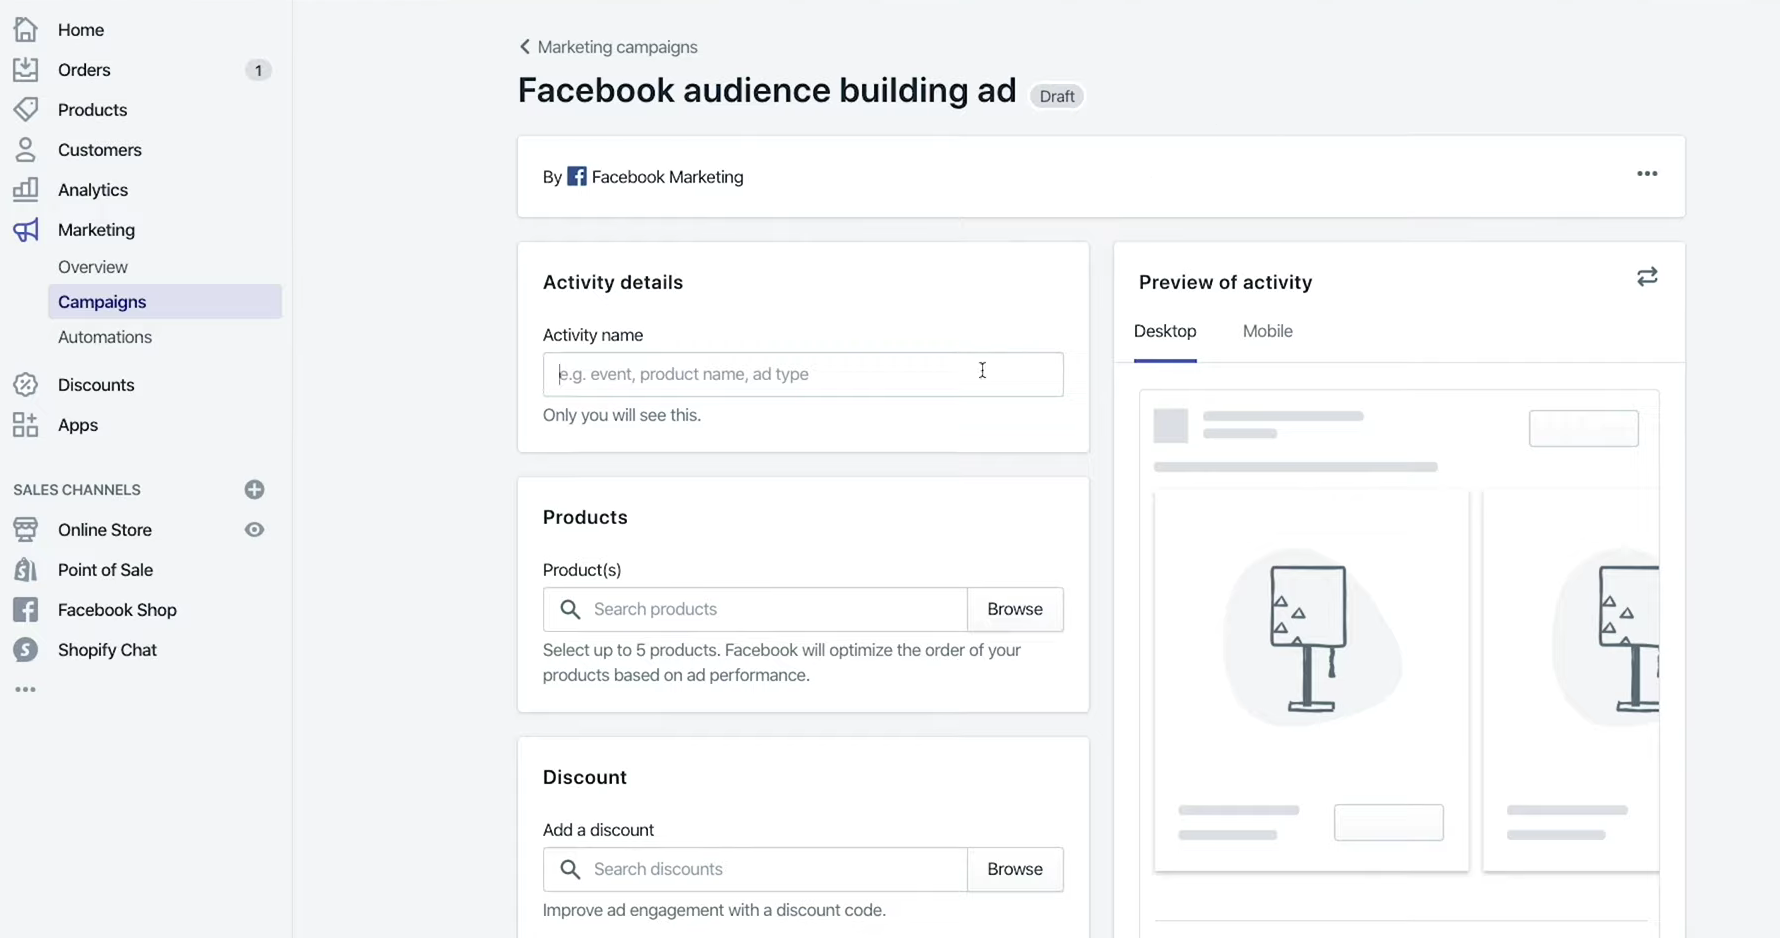
When you are done, click Publish and you shall see a green success notification.
Your campaign will launch and stop automatically at the specified time. Well done!
Conclusion
Shopify and Facebook make a powerful couple for e-commerce campaigns. These platforms are easy to navigate, there are many guides and official posts to help marketers make the best out of ad campaigns even when they lack experience. Don’t forget about testing different creatives, audience settings, and such to achieve better results because only by trial and error can we find the perfect conversion flow.
If you want to reach new GEOs and audiences, maybe it is all waiting for you on Telegram? We’ve prepared some material about Telegram audiences. What are the messenger’s users like this year? How old they are, what they do, and what they are interested in!