
Affiliates working with Facebook use pixels to track conversions, user behavior and other important metrics. However, if an ad account that had a Facebook pixel assigned to it gets banned, an affiliate can lose all accumulated data and will have to grow the audience and analyze statistics once again. To avert this problem, you can use the so-called server pixel.
What is a server pixel? It’s a pixel shared across multiple ad accounts that promote the same product. Thus, it constantly remains warmed up and accumulates all the relevant data.
If you haven’t used a server pixel before or if you are experiencing certain troubles with Facebook updates and can’t share you pixel across other Business Managers, then this article will come in handy for you. Below, you will find a step-by-step guide on how to set up a server pixel on Facebook and launch campaigns with a pixel that has already been warmed up.
Guide to setting up a server pixel
1. You are going to need a separate Facebook account (it can be a newly-registered one). Then, you should create a Business Manager and add your Facebook page to it. Later, we will assign a server pixel to this page. Be sure not to add other ad accounts to this BM.
2. Go to the Pixels section and create a new pixel. (Facebook has a step-by-step guide to creating and installing the Facebook pixel on your landing.) On the screen below, you can find the Dollars-Creative pixel I have created. If you have set up the pixel properly and tracked at least one lead with it, it will turn green. Now, you should choose a partner to add the pixel to another Business Manager. Here, you will come across a certain problem.The button we need has been disabled recently, and you can see it on the screen below. But has it ever stopped us before?
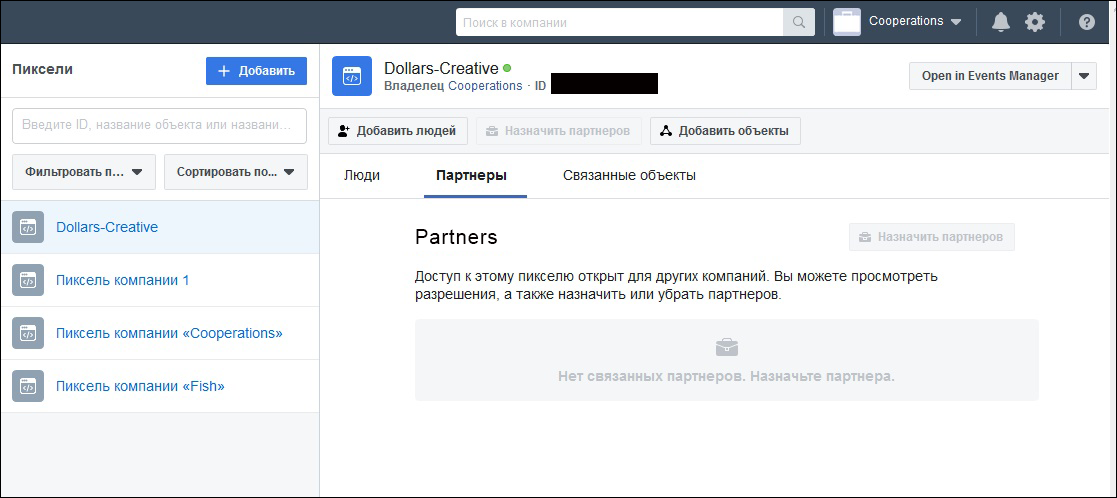
3. Go to the Users tab, choose Partners and click on the Assign Partner button.
4. Insert the ID of a Business Manager you would like to share a pixel with into the input bar.
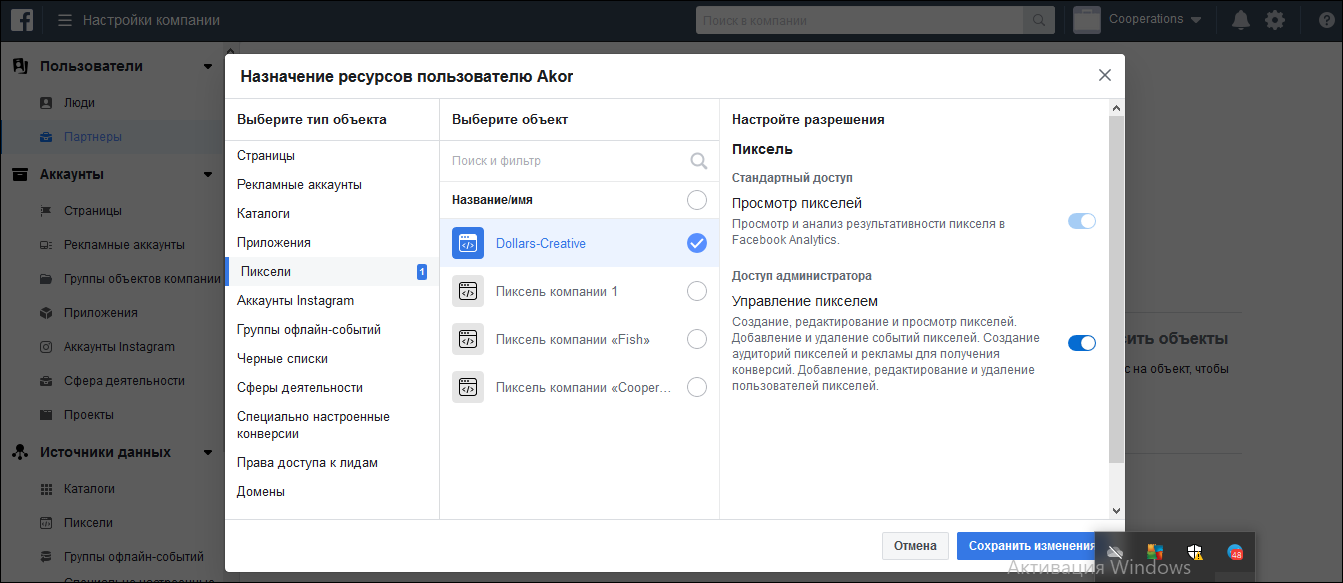
5. Choose the necessary pixel and press the Save Changes button.
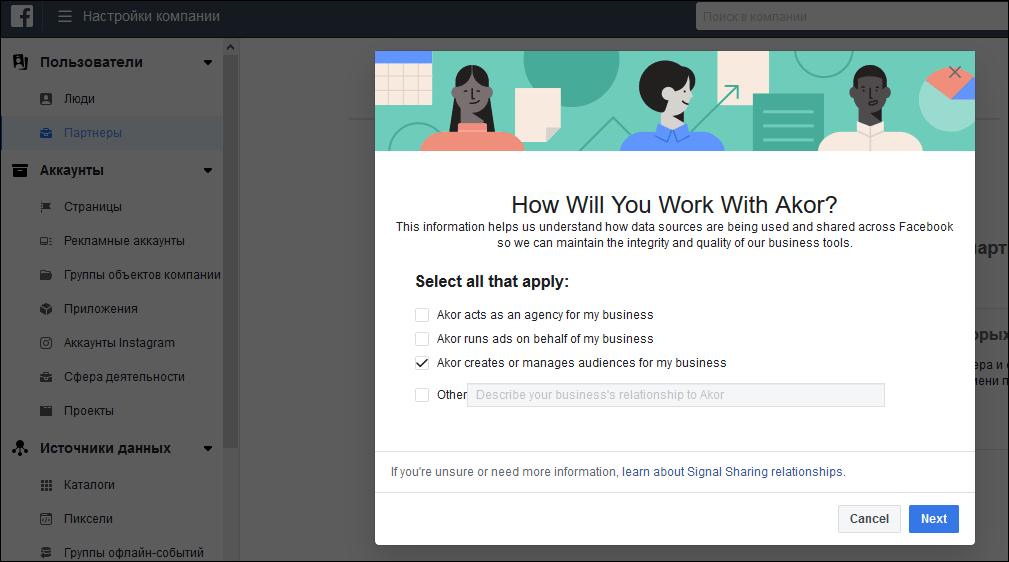
6. Choose how you will work with your partner (I always choose the third option).
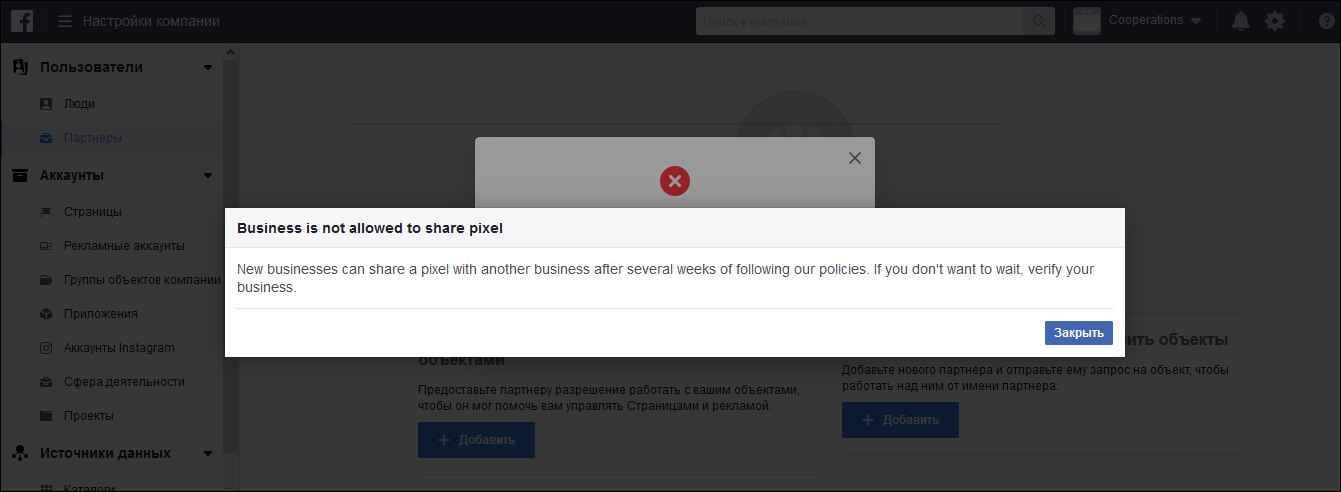
7. Ignore Facebook notifications that you should register your business and that your business is not allowed to share pixels.
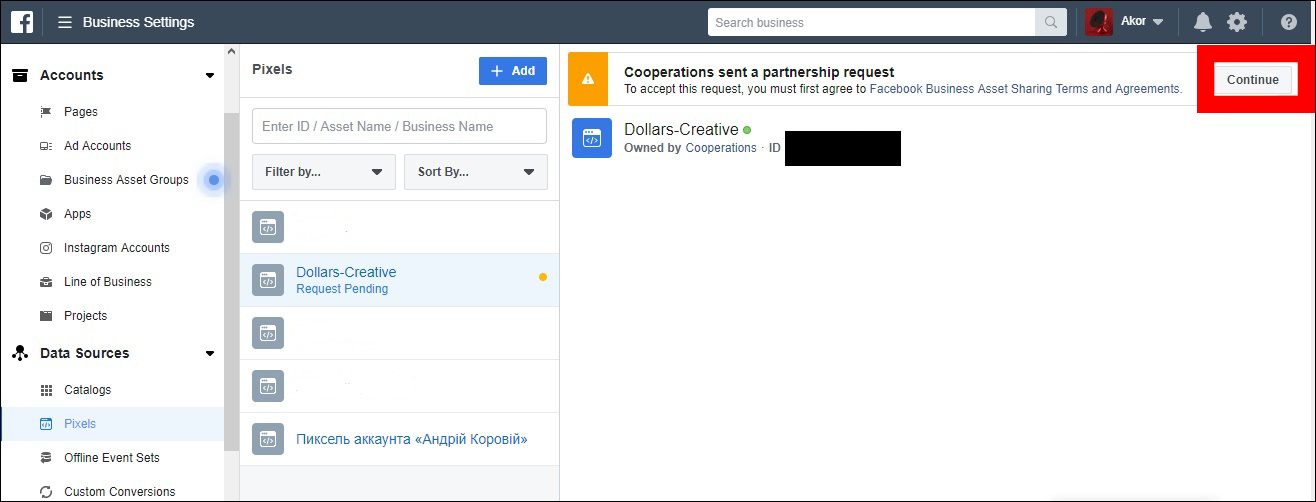
8. Login into your Business Manager that you are going to use to launch a campaign. The pixel has already been added to it. Press Continue.
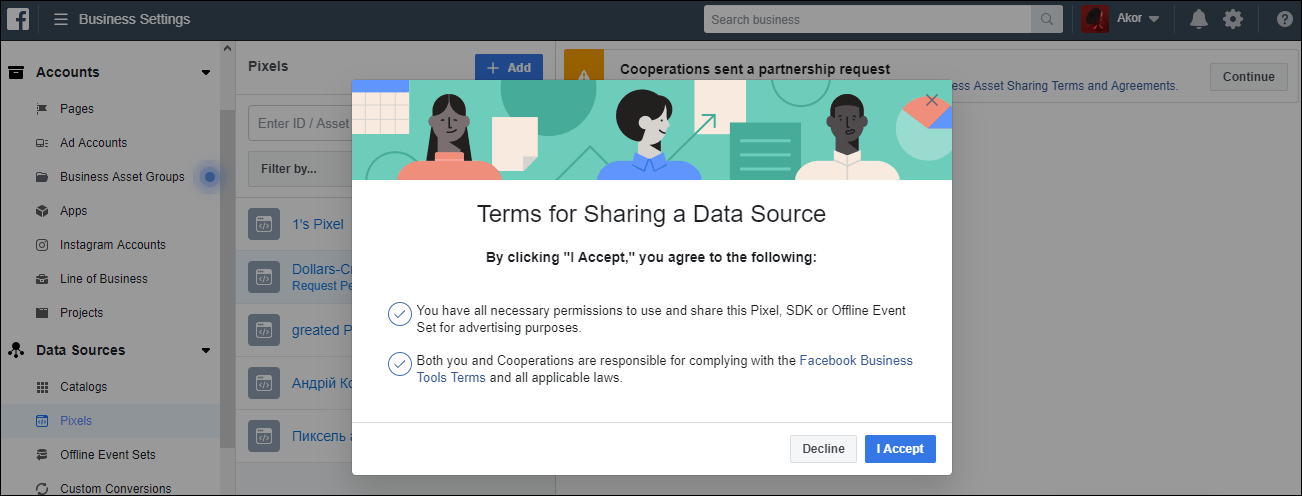
9. Agree to the terms and conditions.
10. Now, the pixel has turned green in this Business Manager account as well. It should be noted that a pixel will be added to a warmed up Business Manager account. If you want to add a pixel to a “cold” Business Manager, then any of your ad accounts added to the Business Manager should be billed at least once.
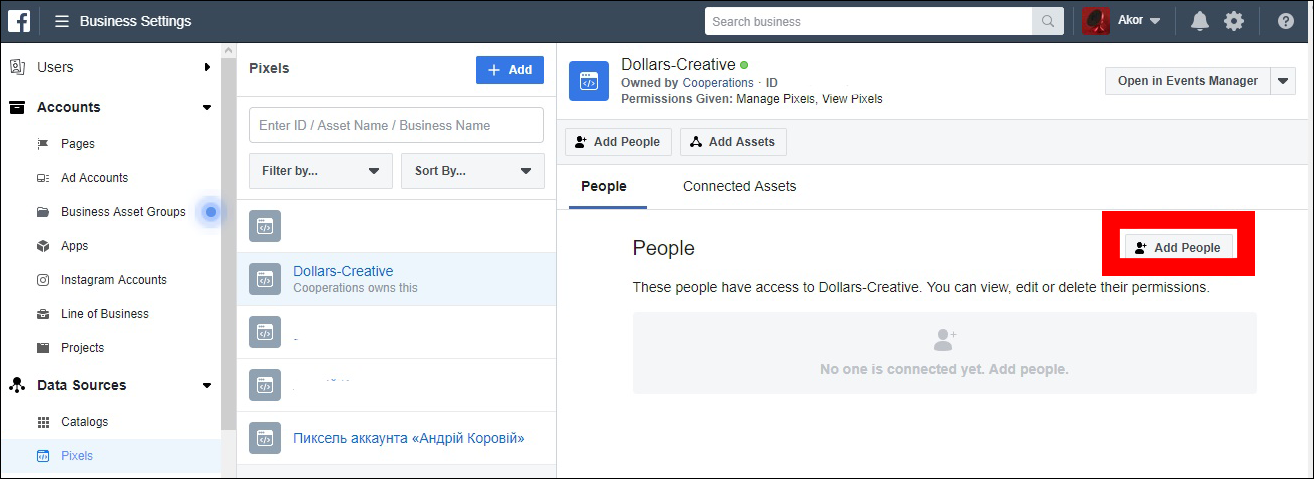
11. Add yourself to the Pixel admins.
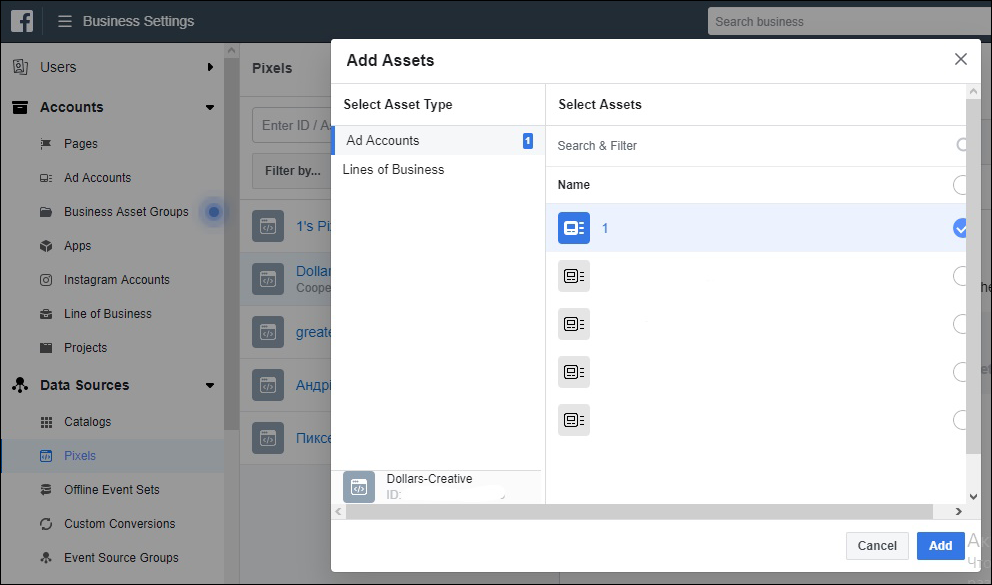
12. Add the necessary ad account to the pixel and launch a campaign.
13. Once your ad account gets banned, go to the Pixels section and delete the banned account. Once the Business Manager account gets banned, go to the Partners tab and delete the banned partner. Now, Facebook won’t be able to ban your account network.
Thus, you will always have a properly warmed up pixel that will work for you even if you create a new ad account to launch a campaign. However, you should bear in mind that the account that has a server pixel assigned to it must be warmed up from time to time: like other users and send messages to them. And don’t forget to delete banned partners promptly.
P.S. I have heard a lot that sooner or later you’ll be banned and that a pixel that has been banned once can’t be used any longer. However, the tests I have run reveal that campaigns with a server pixel pass moderation similar to campaigns with a new pixel, while a server pixel enables you to optimize a campaign faster. You can create lookalike audiences in all your ad accounts using a server pixel. If an account with a pixel added to it gets banned, it won’t influence other accounts.
Summing it up, accounts and Business Managers get banned, while a pixel with lots of accumulated data remains active. The most important thing is to get rid of banned stuff as soon as possible.
Profit and an 800% ROI to all of you!
If you want to reach new GEOs and audiences, maybe it is all waiting for you on Telegram? We’ve prepared some material about Telegram audiences. What are the messenger’s users like this year? How old they are, what they do, and what they are interested in!